Tuesday, July 26, 2011

Bye Georgia

On the last day of Term 2 we sadly farewelled Georgia, who is moving to Invercargill in the holidays. We celebrated the fun times that we've had with Georgia by having a shared lunch.
We sure will miss Georgia's smiley face in Room 4, but hope that she will come back and visit us sometime soon.


The boys on one side of the room.......

..... and the girls on the other!
A special goodbye hug for Georgia from Chaleece

Te Ao Maori Day

On Thursday 14th June all of the students at Lawrence Area School took part in Te Ao Maori Day (The World of Maori). As part of this day a hangi was put down by Miss Mikaere's dad and helpers. Room 4 enjoyed the chance of seeing the preparation of the hangi pit with the fire heating the rocks before they were lifted into the pit and the food placed on top of the hot stones in baskets. Tasting the hangi lunch was a true highlight of the day, with many students wishing that they could've had more food!


What a treat - delicious hangi lunch which included chicken, beef, mutton, stuffing, potatoes, kumara and pumpkin.
For most of the day all students were cross-grouped into whanau groups, named after significant Maori figures e.g Papatuanuku (Earth Mother), Tangaroa (god of the sea).......
These whanau groups took part in a range of traditional Maori activities - Maori art, poi making, stick games and weaving. Room 4 students really enjoyed the opportunity to be mixed with students from Year 0-Year 13 for the whole day and to try out some new activities.
The koru patterns created were simply stunning!
Flax and paper weaving were very popular activities. Lydia demonstrated how to make flax fish (ika) and flowers (putiputi) and all Year 3-13 students got to make both of these creations. The junior students created a colourful paper woven mat.
Sam and Mac with their flax weaving

The official opening (powhiri) was held prior to lunchtime. The whole school welcomed Goldfields Educare and parents and community members (our manuhiri) with speeches and waiata and Educare responded with a beautiful rendition of 'E rere taku poi'.
Stick games (rakau) were a great challenge for all students. Thankfully Mrs Taylor had her guitar to play along with the students as they attempted to stay in time and throw their rakau to their partner.
We ended the day with a closing ceremony and opportunity for students to share what they had done throughout the day.
A very enjoyable experience which students hope we get the chance to repeat again in the future. Thanks to Miss M for all of her organising of the day.

Tuesday, July 5, 2011

Playing glockenspiels

Room 4 have been learning to read and play notes accurately on the glockenspiels. We have focused on B A G tunes for the last two weeks and can now play a small selection of songs.
The students have been working hard at playing notes for the right length of time - 1 beat, 2 beats, 4 beats and rests.
Check out our great musical skills in this video


Friday, July 1, 2011

Kitchen Chemistry - Hokey Pokey

The last task of the day was for each group to make hokey pokey.
We began by heating 2 Tablespoons of golden syrup and 5 Tablespoons of sugar in a pot.


The next step was to add 1 teaspoon of baking soda to our syrupy mixture.
Then we had to stir it really quickly.
The mixture fluffed up to a thick golden mixture which we quickly spooned onto pre-sprayed trays. It set really quickly so we had to be fast.
set in big dollops of rich golden toffee, and it looked and smelled delicious.


Everyone got to take part and have a taste, and it was so much fun!!!
Some groups even got to make 2 batches as they had either burnt or not dissolved the sugar properly the first time. A great learning experience for all.

Barbara's group of Elliot, Izack and Adam had the greatest success with their hokey pokey, which when broken apart had large craters (holes) to show where the carbon dioxide was. Check it out!

The science behind Hokey Pokey:
When the golden syrup and sugar are heated it causes a reaction with the baking soda which creates carbon dioxide. The carbon dioxide is trapped in the heavier syrupy mixture which causes it to fluff up into the thick golden mixture. As it cools it sets into a firm solid.


Time to enjoy..... Mmmmmm.......

Kitchen Chemistry - Fizzy ginger beer

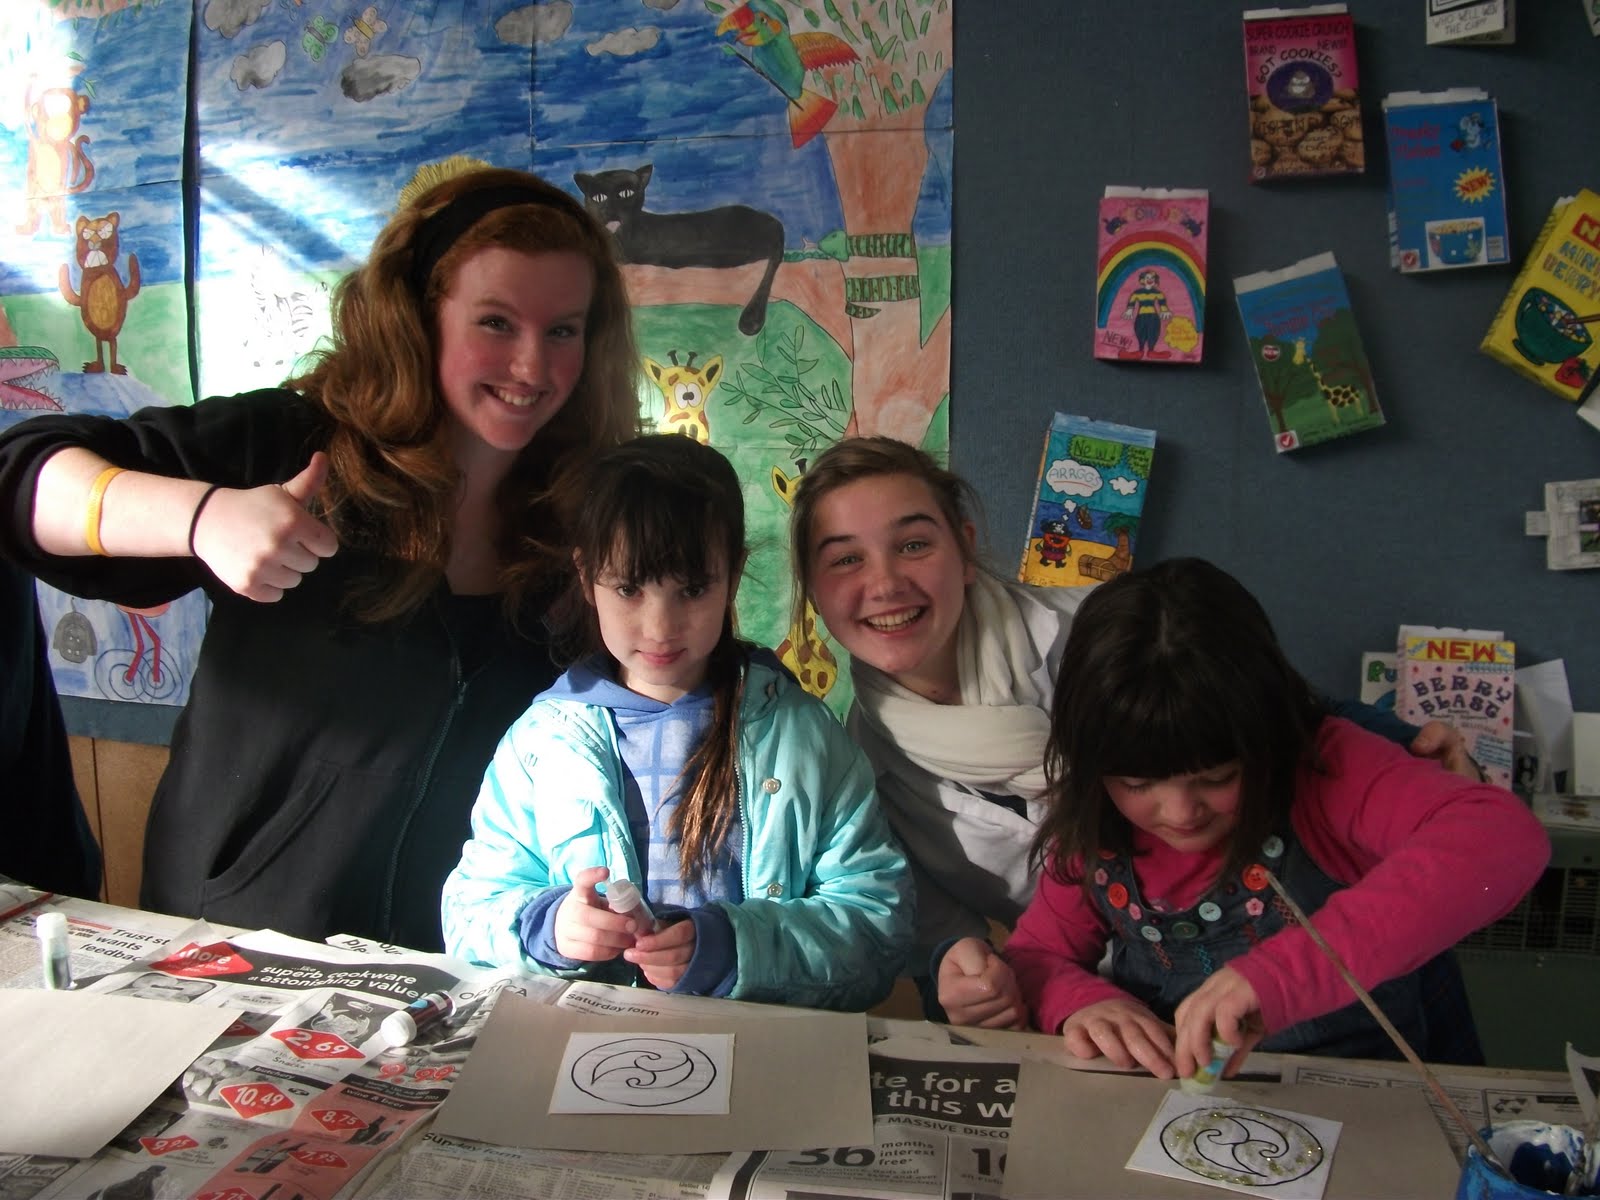
In our five groups we all made a 1.5L bottle of ginger beer. There were two different recipes that were used, so each group had to carefully read their recipe to see which ingredients were needed and what to do step-by-step
Yeast warming and activating

Regen and Josh prepare the lemons for their group
Izack being super-careful not to grate any fingers!
.... and more lemon grating and squeezing!
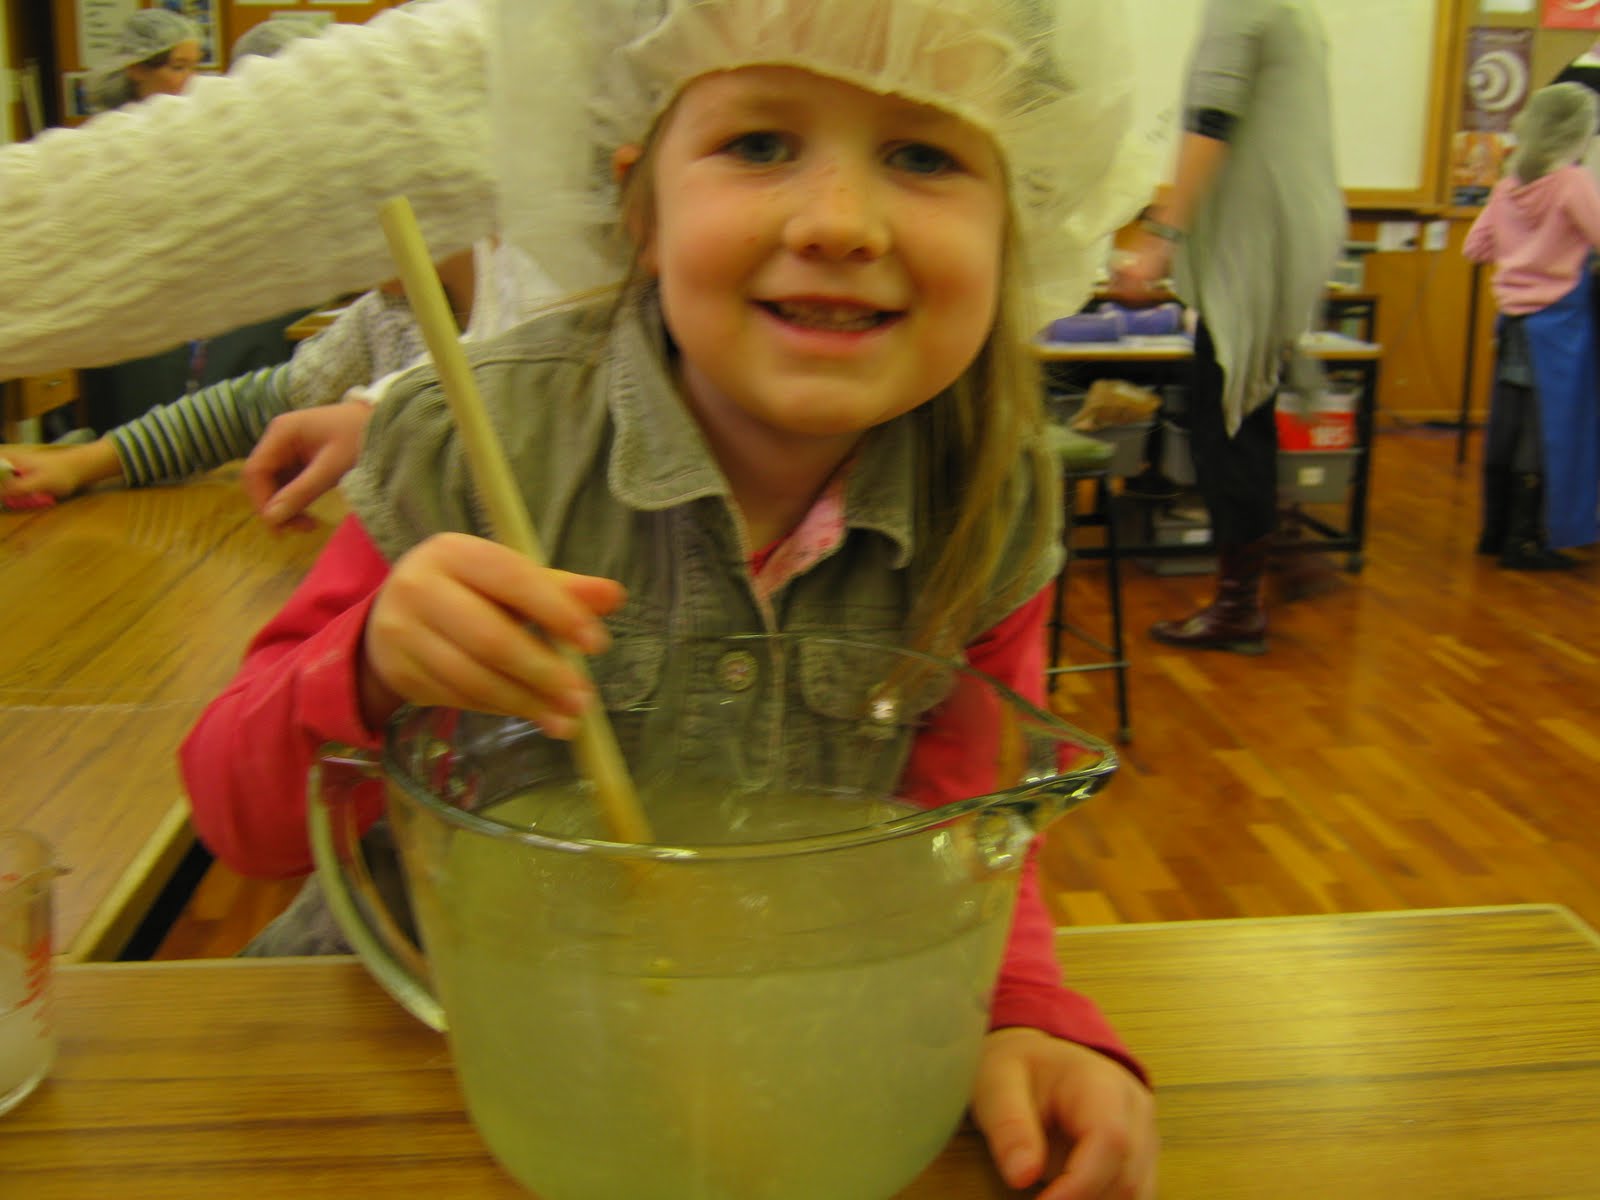
Emma stirs the mixture to make sure it is all blended together
Chaleece stirring. Photographer Mia trying to capture the moment.
Time to consult the recipe again. Rylee measuring the yeast carefully.
Mac's little sister Mia helping out his group.
Looking more and more like ginger beer
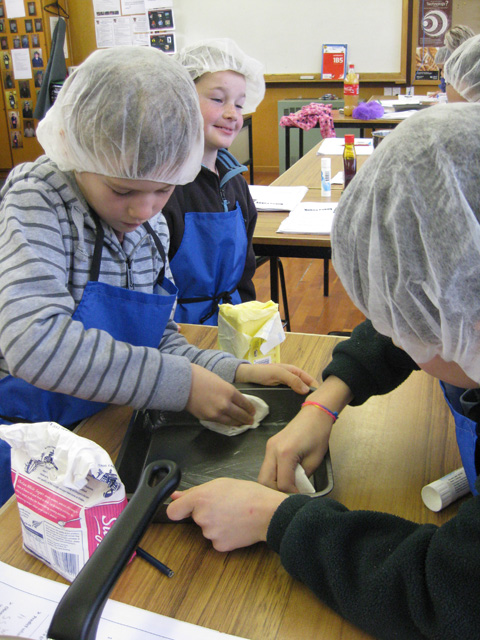
Everybody participating and contributing
More great teamwork in action!

TEAMWORK in action - evidence of everybody PARTICIPATING AND CONTRIBUTING!!!

Time to get the ginger beer strained and bottled.

Bottled, named and waiting for the ginger beer to develop it's 'fizziness'. We now await the taste test......


The science behind Ginger Beer......
In a ginger beer mixture you have sugar and yeast. The yeast uses the sugar to make energy.As the energy is made so is carbon dioxide.Carbon dioxide gas dissolves into the liquid - the water and makes the water fizzy.This process is called fermentation and is the same process that’s used to make things like beer and wine.
The carbon dioxide causes the pressure inside the bottle to increase which makes the bottle feel tight and hard.When the lid is opened the carbon dioxide gas forms bubbles that rush to the top of the ginger beer to escape out of the bottle neck into the air.

What’s wet and hisses like a snake? A fizzy drink!!
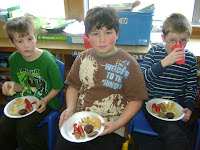
TASTING......
Fortunately we decided to open the ginger beer bottles outside rather than in the Food Technology room because....... although the first bottle was opened without incident, the second bottle, when it's lid was twisted, fizzed and exploded and squirted in a 2 metre radius! It continued to fizz and squirt for a couple of minutes, and when the lid was finally released, there was only about one third of the ginger beer remaining in the bottle, the rest having showered the quad and anyone close by.
Everybody had a taste, which was met with mixed reactions. Some enjoyed the taste while others were not fans. Some students suggested that we should have strained the ginger beer before bottling (which was in one of the recipes), as there were a lot of bits floating in the drink.


Ginger Beer Recipe
This is for a 1.5L plastic bottle

2T warm water
1/2 t sugar
1/4 t dried yeast

1 cup sugar
juice of 2 lemons
rind of 2 lemons
1t - 2t dried ginger

Put first measure of sugar in warm water to dissolve. Add yeast and stir. Place in warm place to start working.

  1. Finely grate 2 lemons and place in a heatproof bowl with the 1 cup of sugar and the dried ginger.
  2. Pour over 1 cup of boiling water and leave to steep for 10 minutes.
  3. Stir.
  4. STRAIN into a 1.5L plastic bottle in which the ginger beer will be made.
  5. Top up the bottle with cool water to near the top.
  6. Add the yeast mixture to the bottle.
  7. Cap the bottle tightly.
  8. Tip up and down to mix thoroughly.
  9. Put in a warm place. Leave until the bottle becomes undentable. Depending on the yeast this can take anything from 12 hours to 3 days, but it is best to check regularly, as there is the risk of explosion!
  10. Refridgerate until thoroughly chilled.
  11. Open carefully outside!